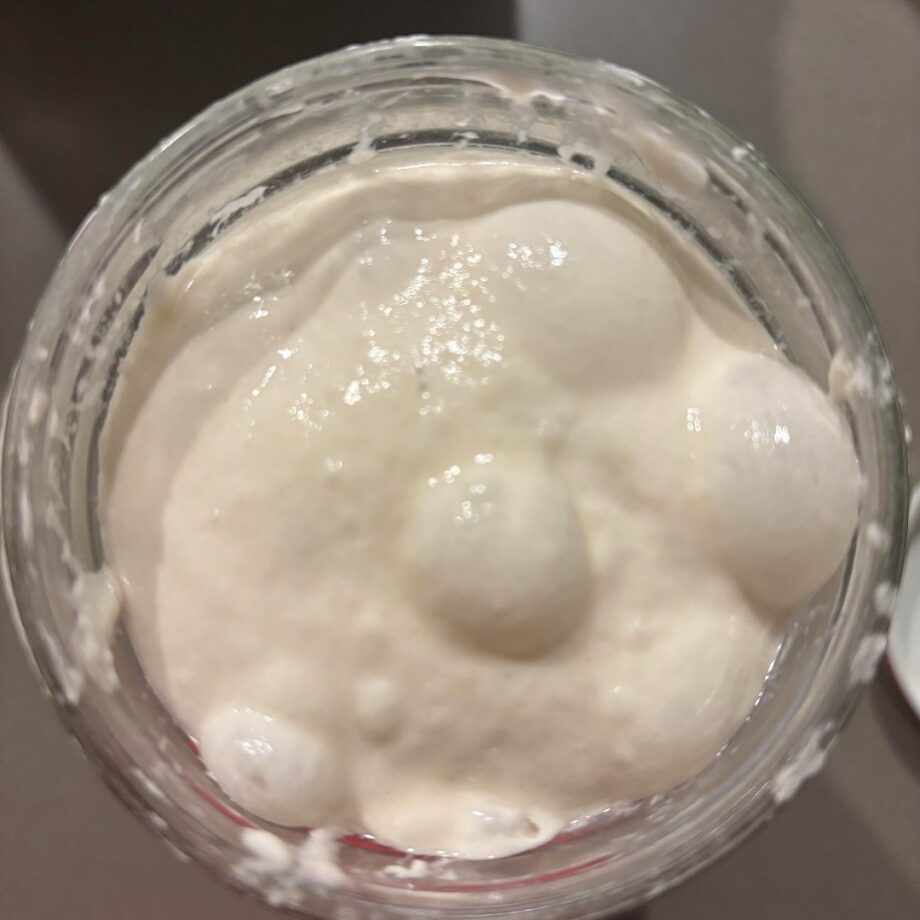
Your starter is active. It passed the float test. It smells exactly the way it should. You’ve done the hard biological work — and now it’s time to bake.
Part 3 is where sourdough stops being theory and becomes something you can hold, smell, and eat. We’re making your first loaf from scratch — mixing the dough, building its strength through stretch-and-fold, and shaping it into something that looks and behaves like real artisan bread.
No stand mixer. No special bench. No experience required. Just your hands, your active starter, and this method.
📋 What You Need Before You Mix
Gather everything before you start. Sourdough timing is flexible — but you don’t want to be hunting for your scraper while your autolyse is sitting on the bench.
🛠 Your Equipment & Ingredients Checklist
This is the complete setup for one standard 900g sourdough loaf — the size that fits a 26cm Dutch oven or camp oven perfectly.
- 450g bakers flour — high-protein (11.5%+). Laucke Wallaby, Defiance, or any labelled “bakers flour” at Woolworths or Coles. Plain flour works but gives a tighter crumb.
- 330g filtered water — room temperature. This gives you 73% hydration, manageable for a beginner’s first loaf.
- 90g active sourdough starter — fed 4–8 hours ago, at peak activity. This is 20% inoculation — strong enough to leaven well, gentle enough for a long, flavourful fermentation.
- 9g fine sea salt — add after autolyse, not at the start. Salt tightens gluten and inhibits fermentation if added too early.
- Digital kitchen scales — precision here pays off in your final loaf.
- Large mixing bowl — at least 3L capacity. Your dough will grow.
- Danish dough whisk or your hands — for initial mixing.
- Dough scraper — your best friend for handling sticky dough without adding flour.
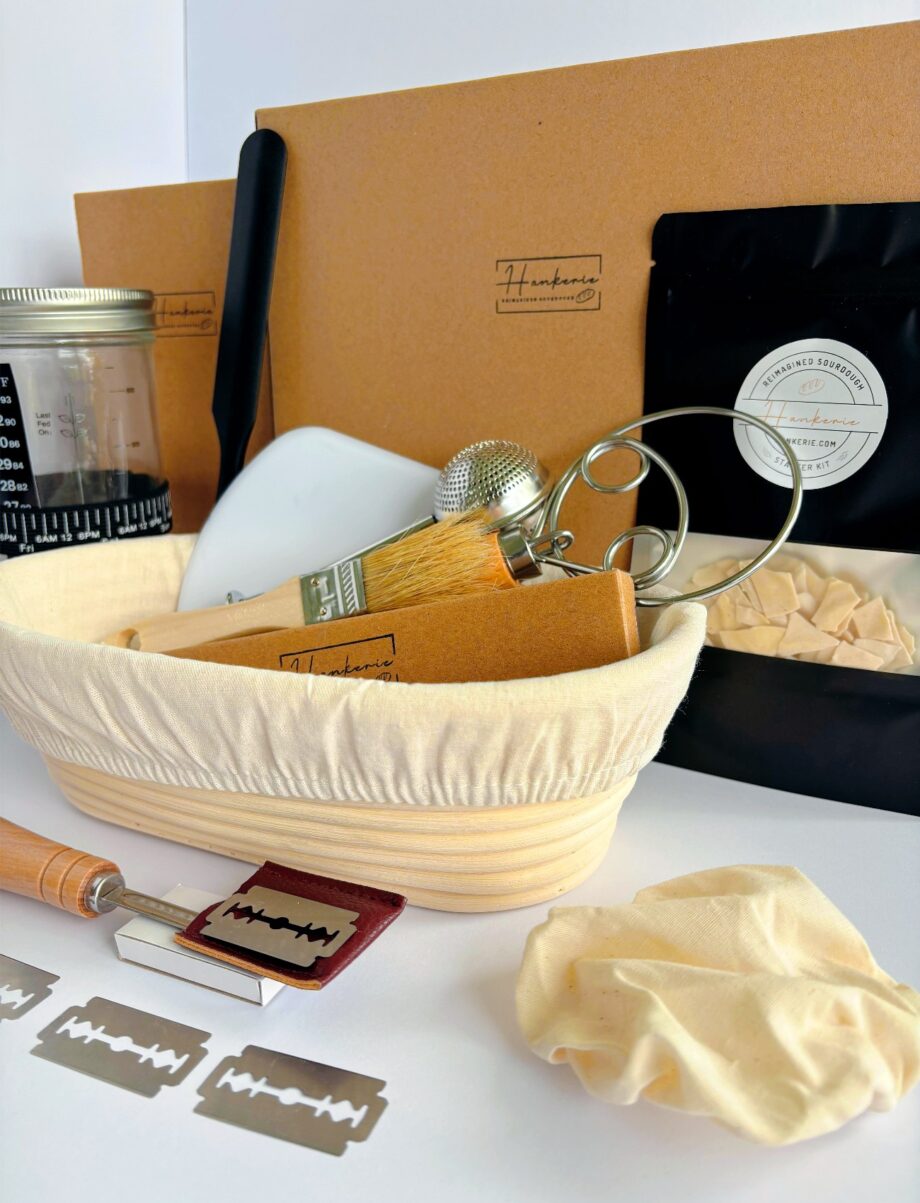
- Banneton (proofing basket) — for the final shape. The 10″ oval banneton in the Hankerie kit is ideal for this loaf size.
- Dutch oven or camp oven — essential for trapping steam and achieving that bakery crust. Cast iron is ideal.
🕐 Your First Bake: The Full Day Timeline
Sourdough is not a 90-minute bread. It is a same-day project with long, hands-off rest periods — most of which you can spend doing other things entirely. Here’s how a typical baking day looks, starting at 9am.
-
9AMStep 1 · 9:00 AMAutolyse — Mix Flour and WaterCombine 450g flour and 310g water (hold back 20g for later). Mix until no dry flour remains — it will look rough and shaggy, and that’s perfect. Cover the bowl and leave it alone for 30–60 minutes. This rest is called autolyse. During this time, the flour fully hydrates and gluten begins forming on its own — without any kneading. You are building structure while you have breakfast.
-
10AMStep 2 · 10:00 AMAdd Starter and SaltAdd 90g of your active starter to the dough. Use the reserved 20g of water to dissolve 9g of salt, then pour both over the dough. Now work everything together using the “squeeze and fold” method — squeeze the dough through your fingers to incorporate, then fold the mass over itself repeatedly for about 3–4 minutes until the starter and salt are fully absorbed and the dough feels cohesive. It will be sticky. Do not add flour. Cover and rest for 30 minutes.
-
10:30Step 3 · 10:30 AM – 2:30 PMBulk Fermentation with Stretch-and-FoldThis is the longest stage — 4 hours of bulk fermentation at room temperature. During the first two hours, perform 4 sets of stretch-and-fold, spaced 30 minutes apart. For each set: wet your hand, grab one side of the dough, stretch it up as far as it will go without tearing, and fold it over to the opposite side. Rotate the bowl 90 degrees and repeat — four folds per set. After 4 sets, leave the dough completely undisturbed for the remaining 2 hours. By the end of bulk fermentation, your dough should be 50–75% larger, feel airy and jiggly, and show bubbles on the surface and sides of the bowl.
-
2:30Step 4 · 2:30 PMPre-ShapeGently turn the dough onto an unfloured bench. Using your dough scraper and your free hand, drag the dough toward you across the bench surface to build surface tension — the friction of the bench does the work. Shape it loosely into a round. Leave it uncovered on the bench for 20–30 minutes (this is called the bench rest). The dough will relax and spread slightly — this is normal and necessary before final shaping.
-
3PMStep 5 · 3:00 PMFinal Shape and Into the BannetonLightly flour your banneton with rice flour or plain flour — rice flour is superior as it doesn’t absorb into the dough and creates a cleaner release. For an oval loaf: gently flatten the dough into a rough rectangle, fold the top third down and the bottom third up (like a letter), then roll it toward you into a tight log shape, seam side down. Use your scraper to drag it briefly across the bench to tighten the surface. Flip it seam-side up into the banneton. Cover with a cloth or shower cap and place in the fridge.
-
NIGHTStep 6 · Overnight — 8 to 16 HoursCold Proof in the FridgeLeave the shaped dough in the fridge, uncovered or loosely covered, overnight. The cold slows fermentation dramatically — developing deep flavour, firming up the structure, and making the dough much easier to score cleanly. This cold proof is your secret weapon. A loaf proofed overnight in the fridge scores cleaner, holds its shape better in the oven, and develops more complex flavour than a room-temperature proof. In Part 4, we’ll cover scoring and baking — the moment everything comes together.
🙌 Mastering Stretch-and-Fold
Stretch-and-fold is the technique that replaces kneading in sourdough baking. Traditional bread kneading develops gluten by working the dough continuously. Stretch-and-fold achieves the same result through short, repeated movements with long rest periods in between — making it perfectly suited to a wet, high-hydration sourdough dough.
🔬 Why Stretch-and-Fold Works — The Science
Each fold aligns gluten strands in the dough and builds the network that traps CO₂ bubbles from fermentation. The rests between sets allow the gluten to relax and redistribute — meaning each subsequent fold has more structural impact than the last.
- Set 1 (30 min in) — Dough feels rough and tears easily. This is normal. The gluten network is just beginning to form.
- Set 2 (60 min in) — Noticeably smoother and more elastic. The dough stretches further without tearing. Fermentation bubbles may just be beginning.
- Set 3 (90 min in) — Strong, extensible, and silky. It pulls away from the bowl cleanly. This is good gluten development.
- Set 4 (120 min in) — The dough should feel alive — slightly airy, jiggly, and holding its shape when you pull it. Visible bubbles are a positive sign. After this set, leave it completely alone.
- If dough tears during folding — shorten the fold, don’t force it. Tearing means the gluten is tight and needs more rest. Wait an extra 10 minutes before the next set.
👐 How to Shape a Sourdough Loaf
Shaping is the stage most beginners find intimidating — and the stage that matters most for how your finished loaf looks. A well-shaped loaf holds its structure in the oven and rises upward rather than spreading outward. The goal is surface tension — a tight, smooth outer skin that supports the loaf through baking.
-
1Set Up Your Bench CorrectlyUse a completely unfloured bench for shaping. This feels counterintuitive — but friction between the dough and the bench surface is what creates surface tension. Flour eliminates that friction and produces a slack, poorly shaped loaf. If your dough is sticking aggressively, use the lightest smear of water on your hands, not flour on the bench.💡 A smooth wooden or stone bench works better than laminate for shaping. The slight porosity gives traction without sticking.
-
2The Letter FoldAfter your bench rest, gently flatten the dough into a rough rectangle with your fingertips — no punching, no degassing aggressively. Fold the top third down toward the centre, pressing lightly to seal. Fold the bottom third up over the top, like folding a business letter. You now have a long rectangle. Fold in the sides to align the width with your banneton, then begin rolling the dough toward you into a tight log, using your palms to maintain tension as you roll.💡 For a round loaf (boule): instead of the letter fold, fold all four sides into the centre like an envelope, flip the dough over, and drag it toward you in circular motions to build tension.
-
3The Bench DragWith your shaped loaf seam-side down on the bench, place both hands behind it and drag it toward you slowly — the bench friction will tighten the surface skin further. Rotate 90 degrees and repeat. You are looking for a smooth, taut outer surface with no tears or loose patches. Two or three drags is usually enough. Over-working at this stage degasses the dough unnecessarily.💡 The dough should feel like a drum — firm resistance when you gently press the surface, with a slight spring-back. Slack dough that doesn’t spring back needs slightly more surface tension — do one more drag.
-
4Into the Banneton — Seam Side UpFlour your banneton generously with rice flour, making sure it gets into every groove of the rattan. Using your dough scraper, flip the shaped loaf upside down and lower it seam-side up into the banneton. The smooth surface you built faces down — this becomes the top of your loaf when you flip it out for baking. Pinch the seam together gently at the top if it has opened. Cover with a floured cloth or a shower cap and refrigerate immediately.💡 Rice flour is superior to plain flour for banneton dusting. It doesn’t absorb into the dough surface, which means a cleaner release and sharper scoring lines on baking day.
🌡️ Understanding Fermentation in Your Kitchen
Bulk fermentation is not a fixed number of hours. It is a response to the temperature of your kitchen. This is the variable that trips up most beginners who follow a recipe rigidly and wonder why their dough isn’t ready when the timer goes off.
-
1Warm Sydney Kitchens (26–30°C)Bulk fermentation will complete in 3 to 4 hours. Your dough will be ready sooner than you expect. Watch the dough, not the clock. Signs it’s ready: 50–75% volume increase, jiggly when you shake the bowl, bubbles visible through the bowl sides, dough pulls away cleanly from the bowl edges.
-
2Mild Sydney Kitchens (20–24°C)The sweet spot for sourdough. Bulk fermentation takes 4 to 5 hours — long enough to develop flavour, short enough to stay on schedule. Most Sydney homes in spring and autumn will sit in this range.
-
3Cool Winter Kitchens (16–20°C)Fermentation slows significantly. Allow 5 to 7 hours for bulk. The slower fermentation produces deeper flavour and more complex tang — some bakers consider a cold kitchen an advantage. Do not rush it by placing the dough in a warm oven. Let it develop on its own.
-
4Over-Fermented vs Under-FermentedOver-fermented dough is slack, sticky, and impossible to shape — it degasses the moment you touch it and spreads flat in the oven. Under-fermented dough is dense, tight, and produces a compact crumb with no oven spring. When in doubt, err on the side of slightly under — you can always cold proof longer, but you can’t walk back an over-proofed dough.
The Tools That Make Your First Loaf Work
The Hankerie Complete Beginner’s Sourdough Starter Kit includes the oval banneton, dough scraper, Danish dough whisk, and bread lame used throughout this series — plus digital video masterclasses where Han Ker walks you through every technique in this post, on camera, in real time.
✅ How to Know Your Dough Is Ready to Bake
After overnight cold proofing, your shaped loaf should pass the poke test before it goes in the oven. Lightly flour your fingertip and gently press it about 1cm into the surface of the dough.
-
👍Springs back slowly and partially — bake it now.This is perfect. The dough is properly proofed, has enough gas to give good oven spring, and is firm enough to hold its shape when scored. This is your green light.
-
⏳Springs back immediately and completely — needs more time.The dough is under-proofed. The gluten is too tight. Leave it at room temperature for 30–60 minutes and test again. Baking it now will give you a dense loaf with a thick, pale crust.
-
⚠️Indentation stays and doesn’t spring back at all — bake immediately.The dough is over-proofed. Bake it straight from the fridge without any room-temperature rest. The cold temperature will help it hold structure slightly better. Expect a flatter loaf with a more pronounced tang — still edible, still delicious, just not your best work.
🔥 What’s Coming in Part 4
Your dough is shaped, cold-proofed, and ready. In Part 4, we go straight to the moment every beginner bakes toward: scoring and baking. We’ll cover how to score confidently with the lame from your kit, why a Dutch oven is non-negotiable for home bakers, how to load the oven without deflating your loaf, and what that crackling sound when it comes out of the oven actually means.
Subscribe to the Hankerie newsletter so you don’t miss Part 4 — and if you want to do all of this in real time, with Han Ker guiding you through every fold and shape in person, there are still a few spots left in the next Ryde Masterclass.
📚 The Hankerie Sourdough Series — All 6 Parts
- 01 Why Every Australian Kitchen Needs a Sourdough Starter ✅
- 02 How to Activate & Feed Your Sourdough Starter (The Right Way) ✅
- 03 Your First Sourdough Loaf: Mixing, Folding & Shaping for Beginners — You are here ✅
- 04 Scoring & Baking: How to Get That Golden Crust in a Home Oven
- 05 Sourdough Discard 101: Zero-Waste Recipes That Actually Taste Amazing
- 06 Troubleshooting Your Sourdough: Why It’s Dense, Flat, or Not Rising
Ready to do this with guidance? Join me at the Hankerie Ryde Studio for a hands-on Sourdough Beginner Masterclass — you’ll mix, fold, shape, and score a real loaf on the day, capped at just 5 students. See upcoming class dates →